

Radare2 is a reverse-engineering tool. Reverse engineering is nothing more than what it sounds like, it is disassembling a source code. Though it doesn't sound very interesting, it opens the window to many very interesting opportunities, including understanding how a program works, patching up programs, finding exploits in them, and many more. I hope to give the readers a glimpse into the power of radare2.
After solving the Microcorruption CTF, I had a tough time finding the right tool for myself, the setup of Microcorruption spoilt me😅. So if you are like me trying different tools, I hope this blog helps you in deciding for yourself.
Commands
Some of the commands which this blog covers are analyzing the code, navigating through the code, and debugging the code. To fire up radare2, we use the following syntax.
radare2 <binary file>

Basics
?:
This is the most important command in radare2 according to me. Why? Coz this helps in showing us all the options we have in radare2. Trying to remember all the commands is very hard and hence we can use this command to display the commands.

aaa:
When you execute the
aaa command, radare2 shows you what steps it takes. Each step has the command responsible for it inside parentheses. It looks for executable sections and looks for calls. when it finds a call, it looks for the destination of the call. Splits up basic blocks, and tries to remove all the false positives.Basically what you need to know is that this command analyses our binary and allows us to do all the amazing stuff.

afl:
When you execute this command radare2 will display all the functions in the code. This is very helpful in getting an overview of the code.

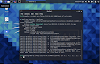
V:
When we use this command, it will show us all the different types of views we have in the tool. The most used ones are the assembly view and the debugging view. To navigate between the views we use the letter 'p'. Radare2 has some interesting views, so try to check out all the views and all of them serve an important purpose. We will mostly be spending most of our time using the assembly view and debugging view.
 |
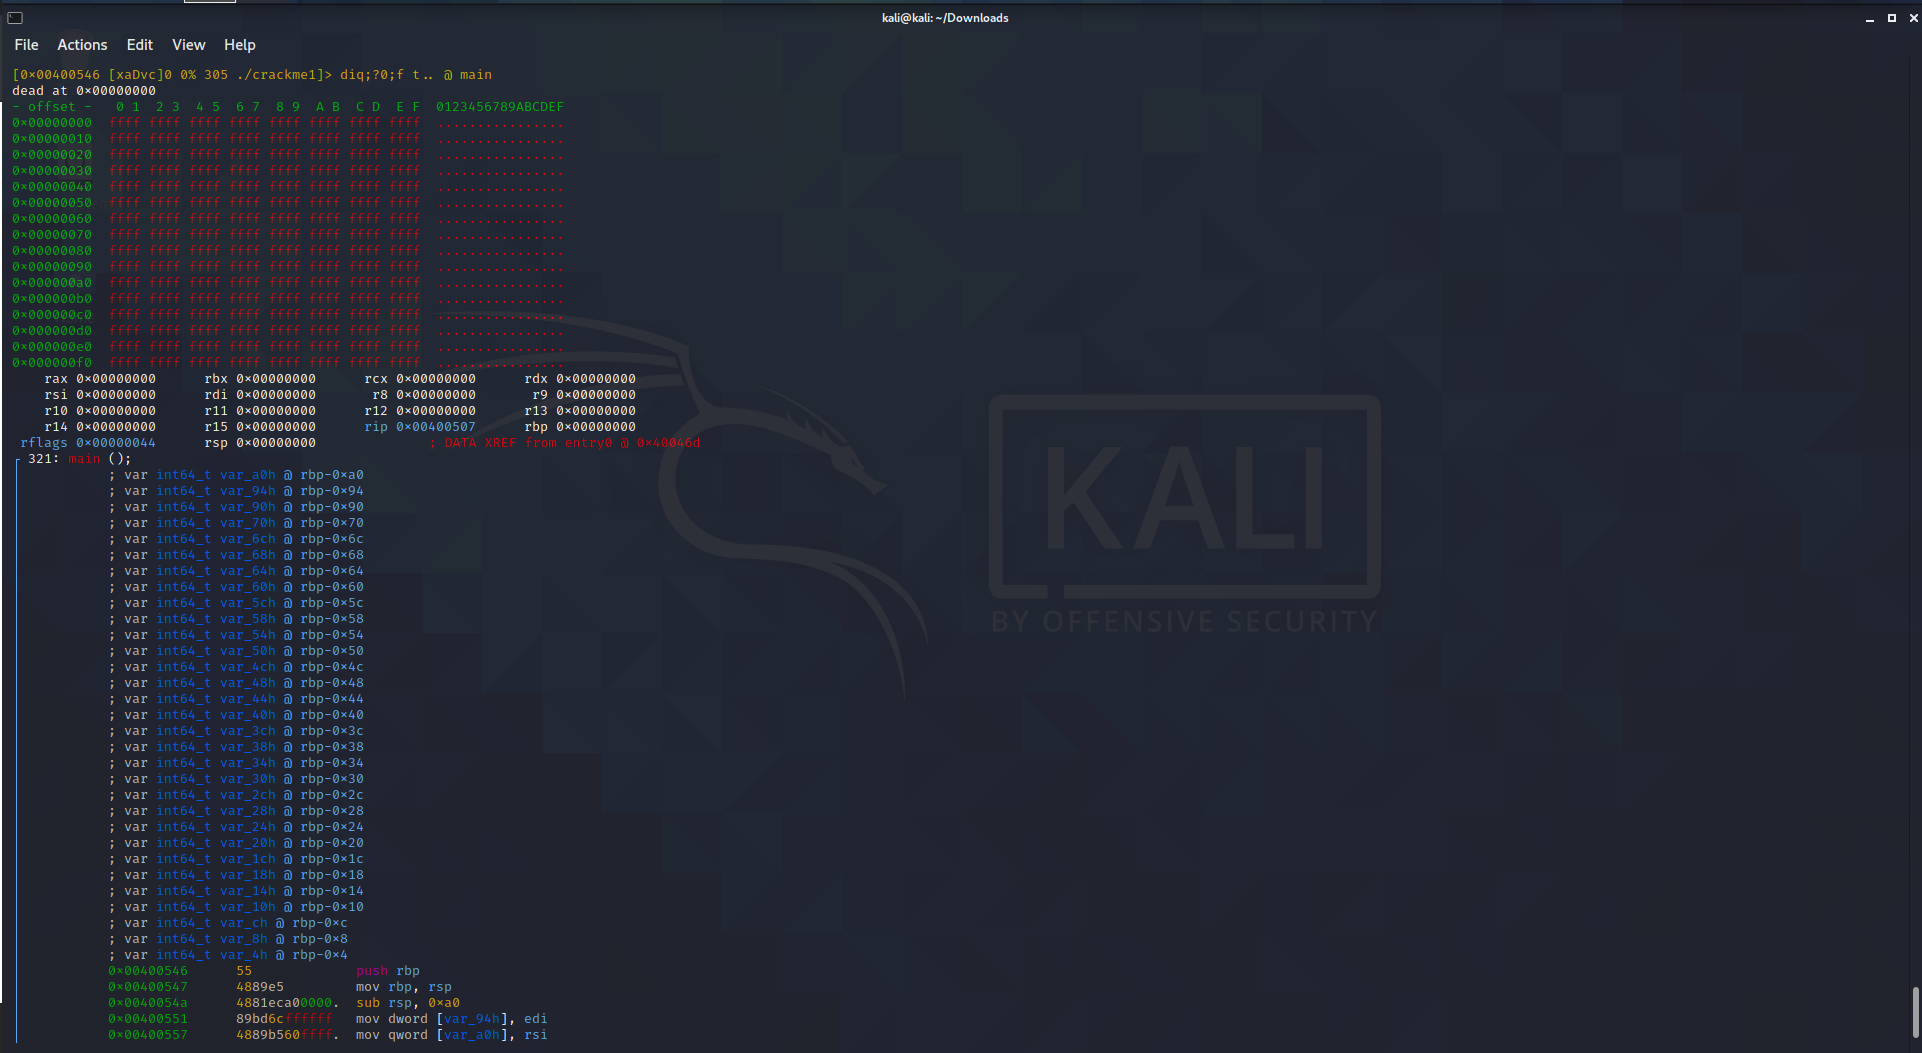
| Assembly View |
 |
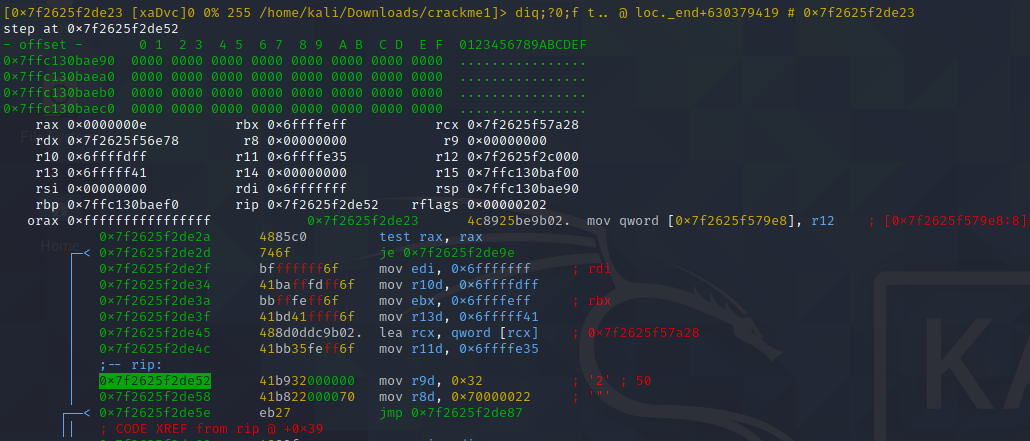
| Debugging view |
Navigation:
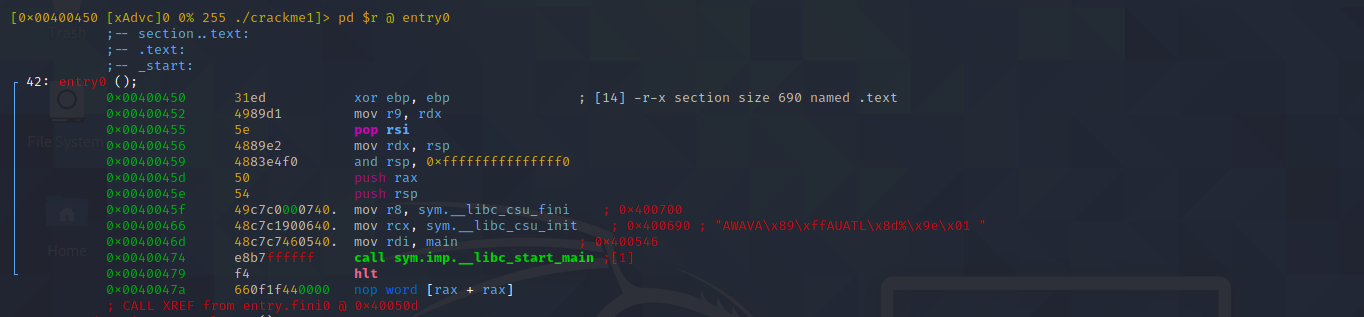
Once we are the required view, we use the arrow keys for navigation through the code. If you observe, we don't start at the main rather we start at an entry_point function. Since we know that we have the main function by using the afl command, we can try to navigate to it by using the arrow keys. When we move through the code, we move the 'seek' through the code. Seek is the address visible in brackets in the first line at the top of the screen.
seek:
This command allows us to go check different parts of the program. Since moving by using the arrow keys is pretty tedious. We specify the address of the instruction we want to move to. We can even use the function names. Note that this command just gives us the view of the instruction we want rather than the control going to the particular instruction.


Function calls:
Once we are in the main function, we can see that the main function calls other functions. To see the function code, we have to take our seek to the function call instruction and press enter. This will take the seek to the function definition instruction. To come back to the function call instruction, we have to "press the letter 'u' ".


Debugging
Debugging is an integral part of reverse engineering any program. To debug the program, we have to use the -d flag when starting radare2.
radare2 -d <binary file>

Navigation:
The F7 key is the 'step' command. It can be used to step through each instruction of the program.
db:
db is the command to set a breakpoint. All the debugging commands start with the letter d.To run these commands, "press the ':' key". We have to specify the address or the function name to set the breakpoint.

dc:
dc is 'continue' in radare2. The control tries to execute the program till it finds a breakpoint.

dsf:
dsf is the command used to step out of the function.

drr:
drr is used to display the contents of the registers and their references.

do:
This command is to be used to kill the current debugging process and restart the debugging process.

Patching
Patching programs is very easy in radare2. To patch the program we have to use the -w flag when starting radare2.
radare2 -w <binary file>

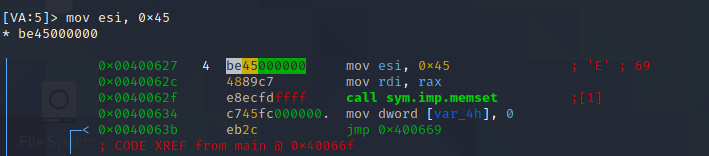
All you have to do to patch the program is to seek the instruction you want to edit. And then "press the capital letter 'A' ". This would allow you to edit the instruction, after changing the line of code, just press enter. Radare2 will ask for confirmation, "press 'y' ".
This blog covers just the basic commands which I think are enough to start working with Radare2. Radare2 has an arsenal of many powerful functionalities. I urge you to try to explore more of such functionalities✌.
Connect with me on LinkedIn.


0 Comments